For those whose UMIN server WordPress sites stopped displaying after the PHP update
Contents
- Case 1: An "Unable to access" message appears
- Case 2: An "Error establishing a database connection" message appears
- Solution
- 1. Connect using an SFTP client
- 2. Open the wp-config.php file in a text editor
- 3. Explicitly define WP_SITEURL and WP_HOME
- 5. Save wp-config.php
- 6. Access the admin dashboard
- 7. Update permalinks
- 8. Edit links
- Case 3: A "There has been a critical error on this website" message appears
- 1. Follow steps 1 through 5 from Cases 1 and 2 above
- 2. Temporarily disable plugins and themes
- 3. Access the admin dashboard
- 4. Identify whether a plugin or theme is causing the issue
- 5. Update permalinks and adjust links
To all PLAZA coordinators
UMIN Center
Notice of completed PHP version upgrade
Thank you for using the PLAZA service.
Regarding the previously announced update to PHP 8.1,
we are writing to inform you that it has been completed as scheduled.PHP 8.1 launch date: Monday, February 26, 2024, at 13:30
*Support for the older version (PHP 5.6) has ended.
From an email sent by the UMIN Center at 14:10 on Monday, February 26
Following this PHP version upgrade, I have seen several cases where websites stopped displaying, mainly among users of the virtual host feature (such as http://account.umin.jp/). Based on the cases I have seen so far, I have put together the current workarounds.
Case 1: An "Unable to access" message appears
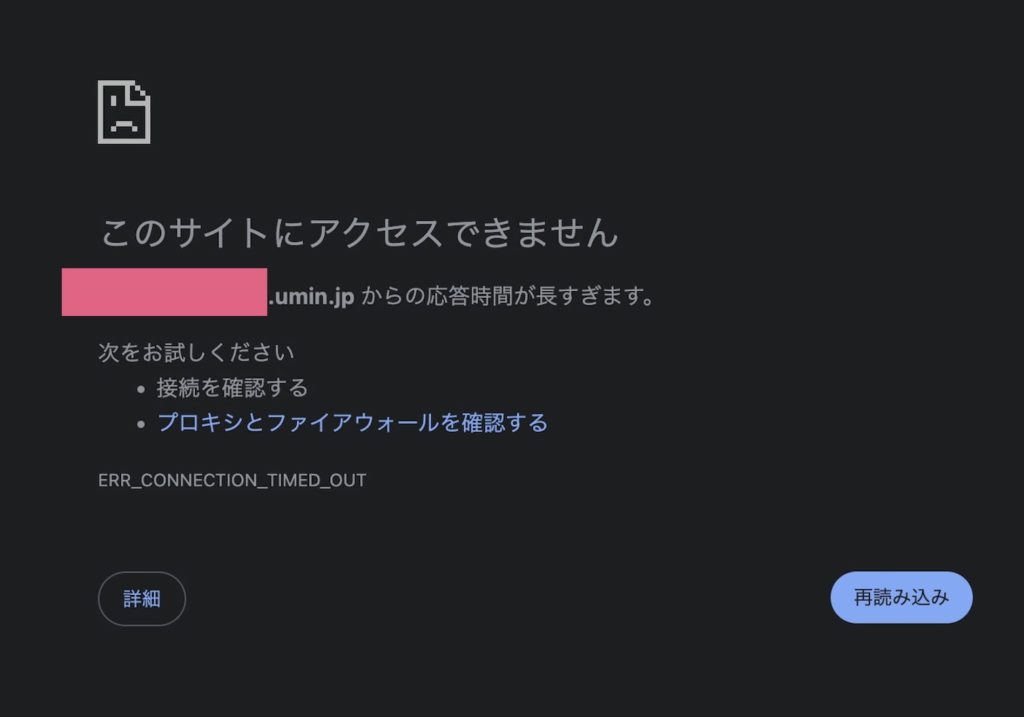
Case 2: An "Error establishing a database connection" message appears
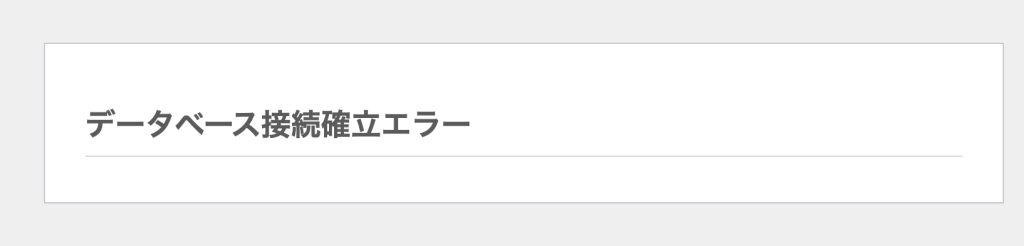
The steps for Cases 1 and 2 are almost identical, so I will explain them together. I suspect the cause is a PHP security issue, which prevents access to WordPress and MySQL when using the virtual host URL.
Solution
1. Connect using an SFTP client
Access the UMIN server using software such as Cyberduck.
In Cyberduck, go to Open Connection > SFTP (SSH File Transfer Protocol).
サーバ: plaza.umin.ac.jp
ポート: 22
ユーザ名: アカウント名
パスワード: 開設通知書にあるパスワードCode language: CSS (css)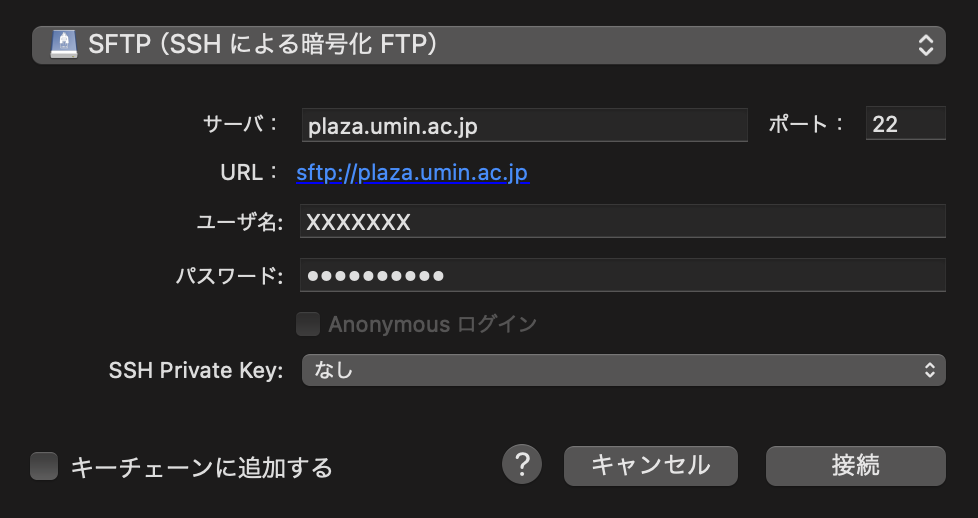
2. Open the wp-config.php file in a text editor
Navigate to `/home/{{account_name}}/public_html` or a subfolder such as `/home/{{account_name}}/public_html/wordpress`, and edit `wp-config.php`. In Cyberduck, you can right-click the file to choose your editor. Windows Notepad will not work properly, so use an editor like Visual Studio Code. Be sure to save the file as UTF-8 without BOM (UTF-8N).
3. Explicitly define WP_SITEURL and WP_HOME
Around line 27, look for:
// ** MySQL 設定 - この情報はホスティング先から入手してください。 ** //
Code language: JSON / JSON with Comments (json)
Add the following code just below it.
define( 'WP_HOME', 'https://plaza.umin.ac.jp/{{アカウント名}}/wordpress' );
define( 'WP_SITEURL', 'https://plaza.umin.ac.jp/{{アカウント名}}/wordpress' );
Code language: JavaScript (javascript)
Specify the directory where `index.php` is located. Do not include a trailing slash. This presets the WordPress Address (WP_SITEURL) and Site Address (WP_HOME) found under Settings > General in WordPress.
If you previously set different URLs for the WordPress Address and Site Address, keep that same structure. The key point is to specify the path using `https://plaza.umin.ac.jp/{{account_name}}` rather than the virtual host address.
Example: If your main page was `http://shoei05.umin.jp/wordpress`
define( 'WP_HOME', 'https://plaza.umin.ac.jp/shoei05/wordpress' );
define( 'WP_SITEURL', 'https://plaza.umin.ac.jp/shoei05/wordpress' );Code language: JavaScript (javascript)
Example: If your WordPress files were in `http://shoei05.umin.jp/wordpress` and your main page was `http://shoei05.umin.jp/`
define( 'WP_HOME', 'https://plaza.umin.ac.jp/shoei05' );
define( 'WP_SITEURL', 'https://plaza.umin.ac.jp/shoei05/wordpress' );Code language: JavaScript (javascript)
4. Check the MySQL hostname in wp-config.php
define('DB_HOST', 'ホスト名:ポート番号' );Code language: JavaScript (javascript)If it is set like this, change the configuration as follows.
define('DB_HOST', 'localhost:MySQLのソケットファイルpath' );Code language: JavaScript (javascript)To find the path to your MySQL socket file, check the `.htaccess` file in the same directory.
php_value mysql.default_socket /home/{{アカウント名}}/・・・.sockThe path should be specified like this.
Example: For the account name `shoei05`, where the socket file is located at `/home/shoei05/folder1/mysql.sock`
define('DB_HOST', 'localhost:/home/shoei05/folder1/mysql.sock' );Code language: JavaScript (javascript)5. Save wp-config.php
Once you have made these changes, save `wp-config.php`.
6. Access the admin dashboard
At this point, you should be able to access the admin dashboard. By default, go to `https://plaza.umin.ac.jp/{{account_name}}/wordpress/wp-admin`. If you changed the `wordpress` directory name or made other modifications, adjust the URL accordingly.
7. Update permalinks
Go to Settings > Permalinks and click "Save Changes" without modifying anything.
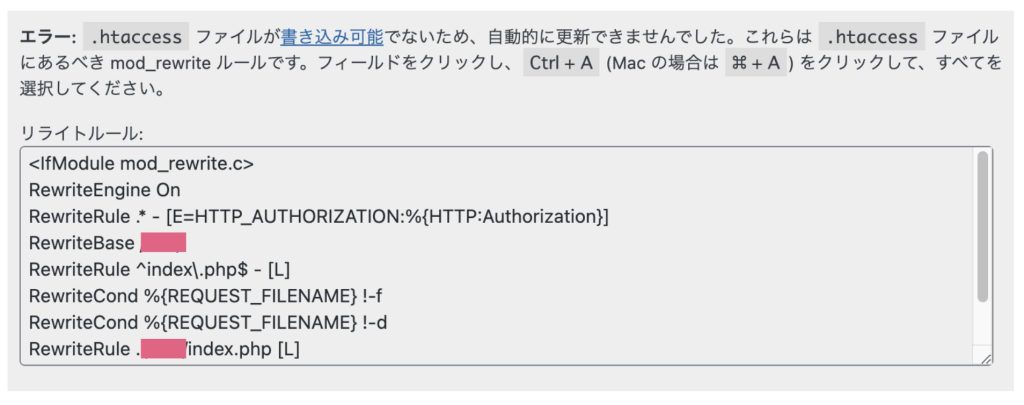
If you see an error message like the one below, update and save the `.htaccess` file in the directory you specified for WP_SITEURL and WP_HOME, then click "Save Changes" again.
8. Edit links
My personal impression is that, partly for security reasons, it will be difficult to continue using WordPress with a virtual host going forward. Automatically generated links should be updated after step 7 (updating permalinks), but for any hardcoded links in your blog posts, you will need to gradually replace `http://{{account_name}}.umin.jp/` with `https://plaza.umin.ac.jp/{{account_name}}/`.
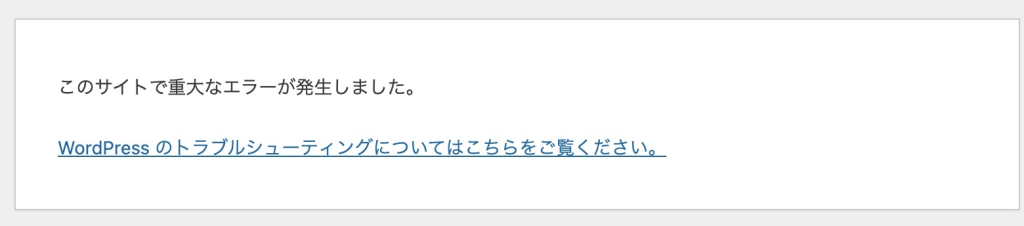
Case 3: A "There has been a critical error on this website" message appears
1. Follow steps 1 through 5 from Cases 1 and 2 above
2. Temporarily disable plugins and themes
This message appears to be caused by plugins or themes (mostly themes, in my impression) having compatibility issues with the updated PHP version. After completing steps 1 through 5 from Cases 1 and 2 above, follow the steps below to temporarily disable your plugins and themes.
Rename the `plugins` and `themes` folders inside `wp-content`.
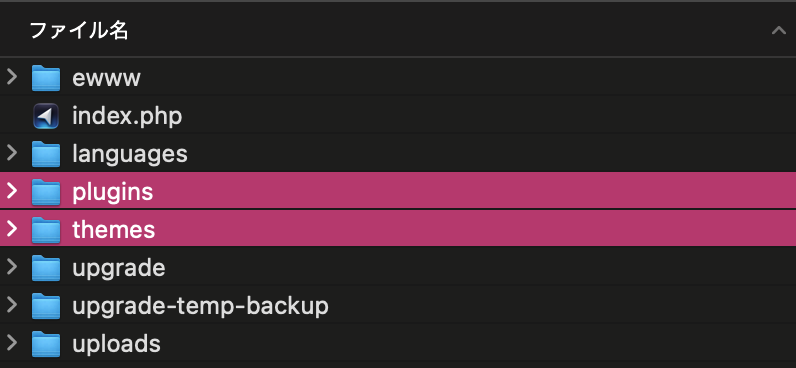
Simply renaming the `plugins` and `themes` folders to anything else will disable all items inside them at once. You can rename them to something like `plugins2` and `themes2`.
3. Access the admin dashboard
You should now be able to access the admin dashboard. By default, go to `https://plaza.umin.ac.jp/{{account_name}}/wordpress/wp-admin`. If you changed the `wordpress` directory name or made other modifications, adjust the URL accordingly.
Note that the URL is `https://plaza.umin.ac.jp/{{account_name}}/`, not `http://{{account_name}}.umin.jp/`.
4. Identify whether a plugin or theme is causing the issue
Restore the folder names you just changed one by one to see where the cause lies.
Step 1: Rename `plugins2` back to `plugins`, then reload the admin dashboard.
-> If no error occurs, the plugins are not the problem.
-> If the admin dashboard stops displaying again, disable the plugins one by one rather than all at once to identify the problematic plugin. Rename each directory inside `plugins` one at a time, reloading the admin dashboard after each change.
Step 2: Rename `themes2` back to `themes`, then reload the admin dashboard.
-> If no error occurs, the theme is not the problem.
-> If the admin dashboard stops displaying again, the currently active theme is the problem.
Admin dashboard > Appearance > Themes
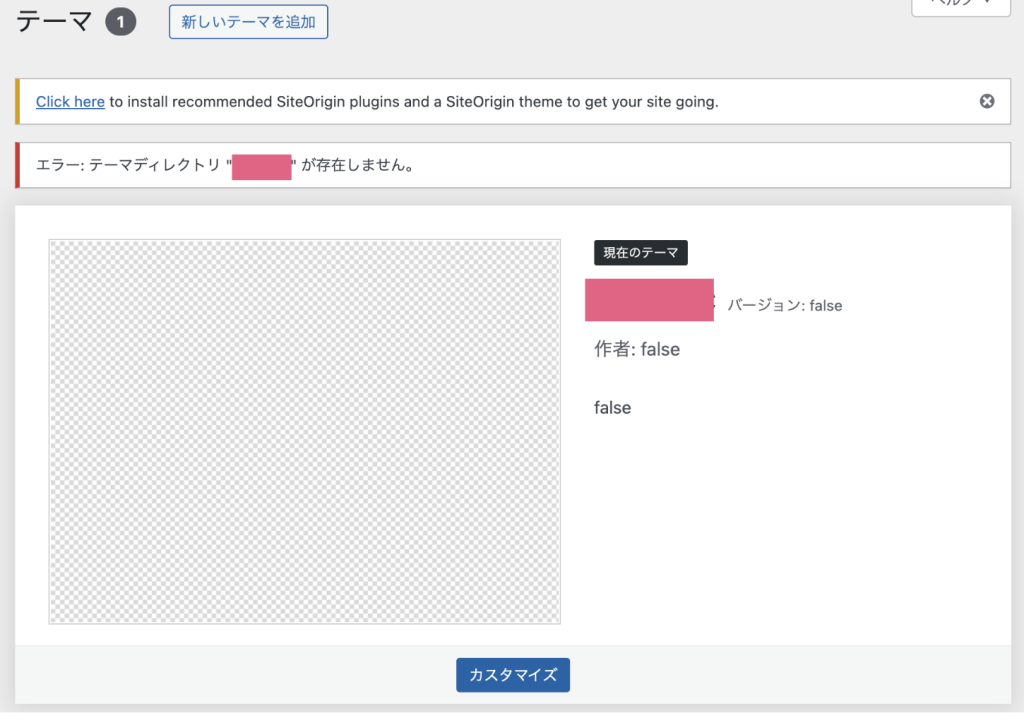
Unfortunately, it is likely that this theme can no longer be used due to the PHP update. Rename `themes2` back to `themes`, then rename or delete the directory of the problematic theme inside `themes`, and reload the admin dashboard. Select a different theme.
5. Update permalinks and adjust links
Follow steps 7 (Update permalinks) and 8 (Edit links) described earlier on this page.
This covers the general information available at this point. I hope you find it useful.